Adding a Chatbot to an Angular Project
Overview
This section will guide you through integrating the Mingleego chatbot into an Angular project. Angular is a popular TypeScript-based web application framework developed by Google. This guide works for Angular 2+ (including Angular 15, 16, 17, and later versions).
Note for Complete Beginners: If you don't have an Angular project yet, you'll need to create one first. This guide assumes you already have an Angular project set up. To create a new Angular project, follow the official Angular Getting Started guide which provides step-by-step instructions for installing the Angular CLI, creating a new project, and running your development server.
⚠️ Angular-specific requirement: Angular does not recognize unknown HTML elements by default. Before adding <mingleego-webchat> to any Angular template, you need to add a special schema (CUSTOM_ELEMENTS_SCHEMA) to tell Angular it's a valid custom element. This guide shows you exactly where to add it — the process depends on your Angular version and project type. Read the section Before You Start below before jumping to the integration steps.
Before You Start: Check Your Angular Version and App Type
Angular projects come in two types. It is important to know which type your project uses before following the steps below.
How to Check Your Angular Version
Run this command in your terminal (inside your project folder):
1
You'll see output like:
Angular CLI: 17.3.0
Angular: 17.3.0
Alternatively, open package.json in your project root and look for @angular/core:
1 2 3
The first number (17 in 17.3.0) is your major version.
NgModule vs Standalone — How to Tell the Difference
Angular 16 and earlier always used NgModule architecture. Angular 17 introduced Standalone as the new default, but older-style projects may still use NgModule.
| App Type | How to identify |
|---|---|
| NgModule | A file called app.module.ts exists at src/app/app.module.ts |
| Standalone | No app.module.ts file — your app.component.ts has standalone: true |
To check, simply open your project in a file explorer or code editor and look inside the src/app/ folder:
src/app/
├── app.module.ts       ← If this file exists → NgModule app
├── app.component.ts
├── app.component.html
└── ...
If there is no app.module.ts, your project is a Standalone app (Angular 17+ default).
Integration Steps
Step 1: Download and Place the Chatbot Script
What you're doing: You need to get the chatbot script file and put it in the right location in your Angular project.
-
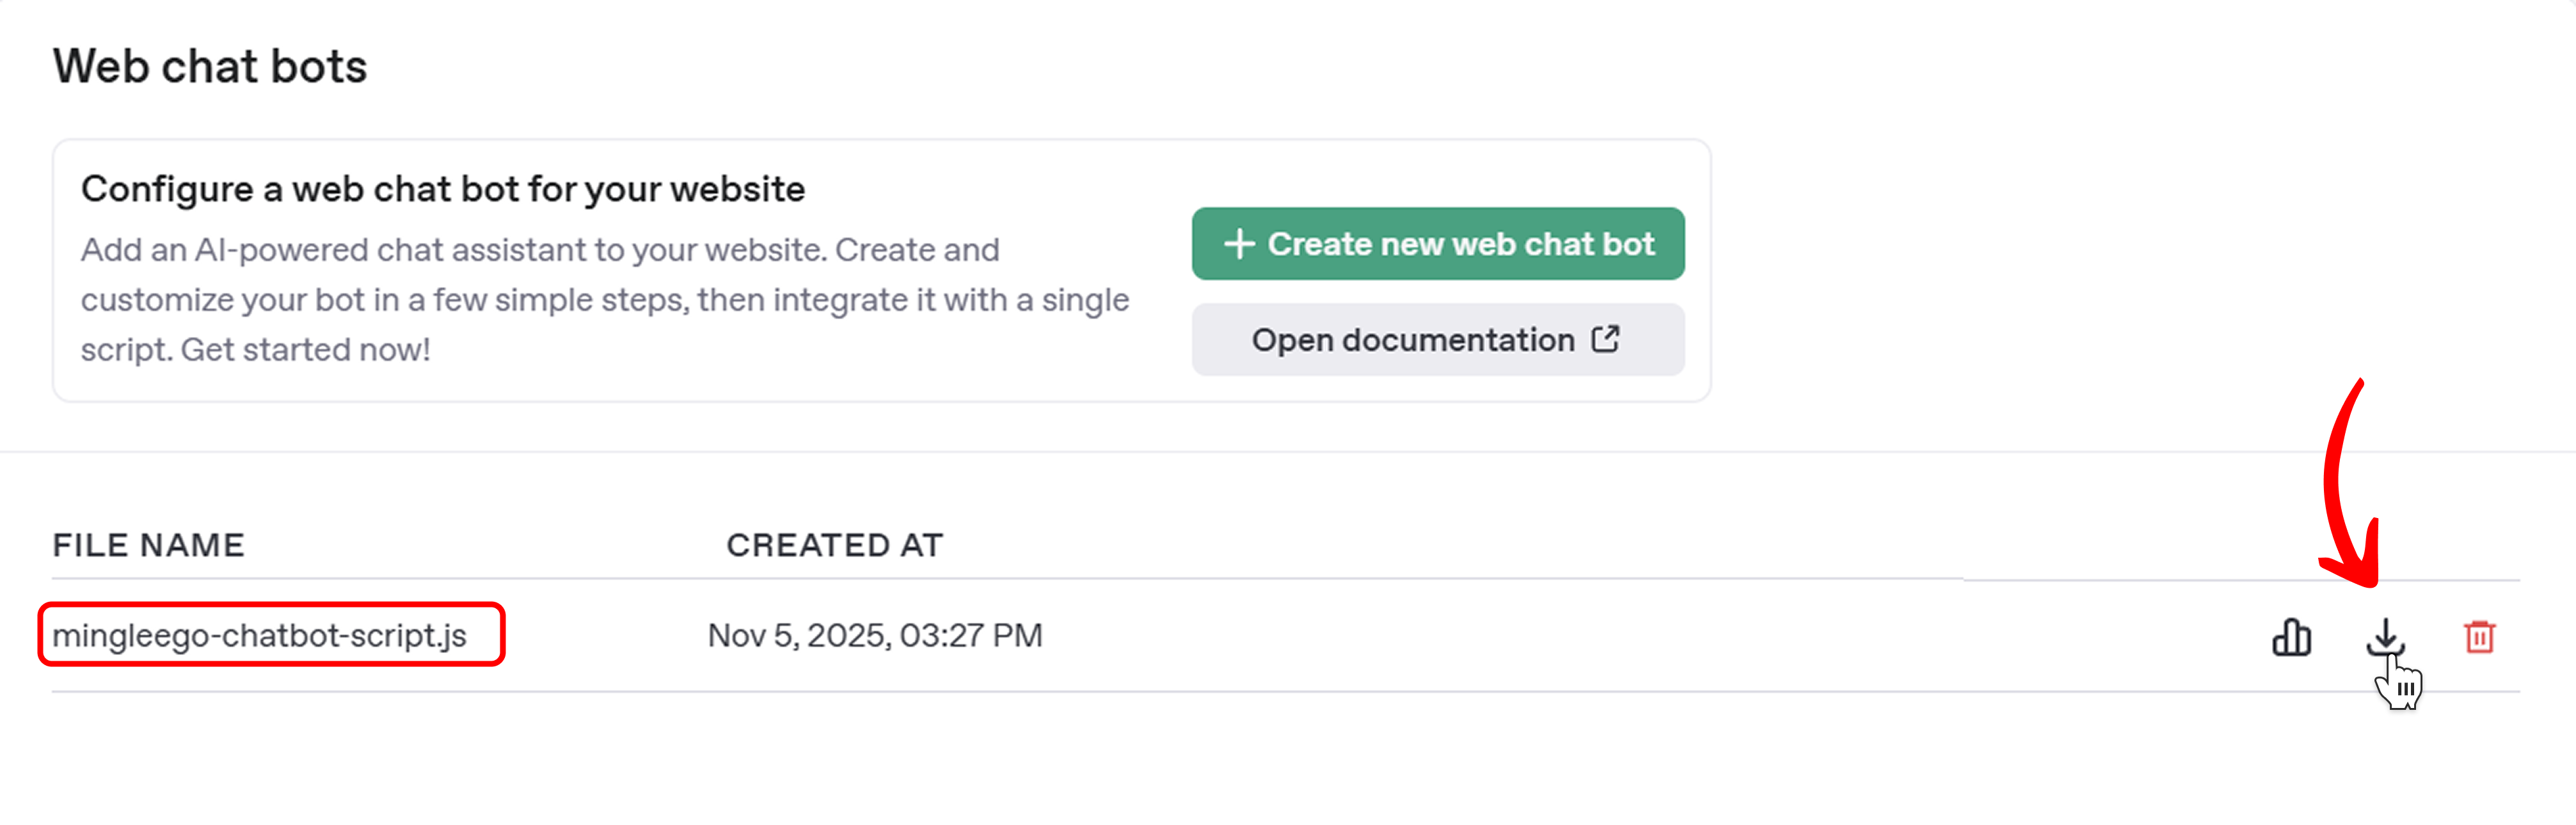
Download the Script File:
- Go to the Web Chat Bots page in your Mingleego dashboard
- Find your chatbot in the table
- Download the script file (it will have a name like
mingleego-chatbot-script.jsor similar) - Save it somewhere you can find it (like your Desktop)
-
Find Your Angular Project's Assets Directory:
- Open your Angular project folder in a file explorer
- Look for a folder called
srcat the root level of your project - Inside the
srcfolder, look for a folder calledassets - If you don't see an
assetsfolder, create one — it's a standard Angular directory for static files
-
Copy the Script File:
-
Copy the downloaded script file and paste it directly into the
src/assetsfolder -
Your file structure should now look like this:
your-angular-project/
├── src/
│   ├── assets/
│   │   ├── mingleego-chatbot-script.js  ← Your chatbot script goes here
│   │   └── (other asset files)
│   ├── app/
│   └── index.html
├── node_modules/
├── angular.json
└── package.json
Important: Make sure the file is directly inside the
src/assetsfolder. Remember the exact filename — you'll need it in the next step. -
Step 2: Include the Script in Your Project
What you're doing: You need to tell your Angular app to load the chatbot script when the app loads. Angular provides two ways to do this.
Method 1: Add Script to index.html (Recommended for Beginners)
-
Find the
index.htmlfile insrc/index.htmland open it with a text editor. -
Add the script tag inside the
<head>section:1 2 3 4 5 6 7 8 9 10 11 12 13 14 15 16Note: Replace
mingleego-chatbot-script.jswith the actual name of your file. Thedeferattribute loads the script after the HTML is parsed, which is good for performance.
Method 2: Add Script to angular.json (Alternative)
-
Open
angular.jsonin the root of your project. -
Find
"projects"→ your project name →"architect"→"build"→"options"→"scripts"array and add your file:1 2 3 4 5 6 7 8 9 10 11 12 13 -
After saving, restart the dev server (
ng serve) for the changes to take effect.Note: Use one method or the other — not both.
Step 3: Add the Chatbot Element to Your App
What you're doing: Now place the chatbot element on your page. Choose the option that fits your needs.
Which Option Should You Choose?
| Option | Best For |
|---|---|
Option A — Via app.component.html | Simple apps, or you want the chatbot on every page |
Option B — Via index.html (outside <app-root>) | If the chatbot button is visible but not clickable (z-index issue) |
| Option C — Via a specific component | You want the chatbot only on certain pages |
| Option D — TypeScript support | You want TypeScript to recognize the element without errors |
Option A — All Pages (via app.component.html)
This places the chatbot on every page of your app. It requires adding CUSTOM_ELEMENTS_SCHEMA first.
Sub-step 1: Add CUSTOM_ELEMENTS_SCHEMA
You need to do this once to allow Angular to use the <mingleego-webchat> element in templates.
Not sure which type your project is? See Before You Start above.
If your project uses NgModule (has app.module.ts):
Open src/app/app.module.ts and add CUSTOM_ELEMENTS_SCHEMA:
1 2 3 4 5 6 7 8 9 10 11 12 13
If your project uses Standalone (no app.module.ts):
Open src/app/app.component.ts and add CUSTOM_ELEMENTS_SCHEMA:
1 2 3 4 5 6 7 8 9 10 11 12 13
Sub-step 2: Add the element to app.component.html
Open src/app/app.component.html and add <mingleego-webchat></mingleego-webchat> at the end:
1 2 3 4 5 6 7 8 9 10 11 12 13 14
Your file structure:
src/
└── app/
    ├── app.module.ts         ← Edit this (NgModule only)
    ├── app.component.ts      ← Edit this (Standalone only)
    ├── app.component.html    ← Add <mingleego-webchat> here
    └── ...
Option B — Place in index.html Outside <app-root> (Safest)
This approach places the chatbot element completely outside the Angular app. It avoids z-index and stacking context issues, and does not require CUSTOM_ELEMENTS_SCHEMA since the element is not inside an Angular template.
Open src/index.html and add <mingleego-webchat></mingleego-webchat> after <app-root></app-root>:
1 2 3 4 5 6 7 8 9 10 11 12 13 14 15 16 17 18
Why this works: When <mingleego-webchat> is placed outside <app-root>, it is not inside Angular's component tree. This means your app's CSS and z-index rules cannot interfere with the chatbot button, so it is always clickable. This is the recommended option if the chatbot button is visible on screen but cannot be clicked.
Your file structure:
src/
├── index.html    ← Add <mingleego-webchat> here (after <app-root>)
└── app/
    └── ...       ← No changes needed here
Option C — Specific Pages Only (via a Specific Component)
This places the chatbot only on certain pages. It requires adding CUSTOM_ELEMENTS_SCHEMA to the component (or its module) that you want to show the chatbot on.
Example: Show the chatbot only on the Contact page.
Sub-step 1: Add CUSTOM_ELEMENTS_SCHEMA to the component's module or decorator
Not sure which type your project is? See Before You Start above.
If your project uses NgModule (has app.module.ts):
Find the module that declares your target component. If the Contact component is declared in contact.module.ts:
1 2 3 4 5 6 7 8 9 10 11 12
If there is no separate module for this component, you can add CUSTOM_ELEMENTS_SCHEMA to the root app.module.ts as shown in Option A — this is the simplest approach.
If your project uses Standalone (no app.module.ts):
Open the component TypeScript file and add CUSTOM_ELEMENTS_SCHEMA:
1 2 3 4 5 6 7 8 9 10 11 12 13
Sub-step 2: Add the element to the component's HTML template
Open the component's HTML file and add <mingleego-webchat></mingleego-webchat>:
1 2 3 4 5 6 7 8 9
Your file structure:
src/
└── app/
    ├── app.module.ts              ← No changes needed (NgModule — if editing per-module instead)
    └── contact/
        ├── contact.module.ts      ← Edit this (NgModule — add CUSTOM_ELEMENTS_SCHEMA)
        ├── contact.component.ts   ← Edit this (Standalone — add CUSTOM_ELEMENTS_SCHEMA)
        ├── contact.component.html ← Add <mingleego-webchat> here
        └── contact.component.css
Tip: You can add the chatbot to multiple component HTML files to show it on multiple specific pages. Just make sure each component's module (NgModule) or decorator (Standalone) has CUSTOM_ELEMENTS_SCHEMA added.
Option D — TypeScript Type Declarations
Angular already uses TypeScript, but you may see TypeScript errors when referencing the chatbot element in component code (for example, with document.querySelector('mingleego-webchat')). This option silences those errors by declaring the element as a known type.
Note: This option is only needed if you're accessing the element from TypeScript code. If you're only placing <mingleego-webchat> in HTML templates, you can skip this option.
Create a type declaration file:
Create a new file called custom-elements.d.ts inside a src/types/ folder (create the types folder if it doesn't exist):
1 2 3 4 5 6 7 8 9 10 11 12 13 14 15 16 17
Make sure TypeScript includes this file. Open tsconfig.app.json (or tsconfig.json) and check that the include array covers src/**/*.d.ts:
1 2 3 4 5 6
Your file structure:
src/
├── types/
│   └── custom-elements.d.ts  ← Create this file
├── app/
│   └── ...
└── index.html
Step 4: Test the Integration
What you're doing: Start your Angular app and verify the chatbot works correctly.
-
Start Your Development Server:
1 2Wait for the compilation to complete — you should see "Compiled successfully" or "Application bundle generation complete".
-
Open Your App in the Browser:
- Navigate to
http://localhost:4200 - You should see a chatbot widget in the corner of the screen (bottom-right or bottom-left, depending on settings you chose when creating the chatbot in Mingleego)
- Navigate to
-
Verify the Chatbot Works:
- Click the chatbot icon — the chat window should open
- Send a test message to confirm it responds correctly
-
Common Issues and Solutions:
Problem: Angular build error —
'mingleego-webchat' is not a known element- Cause: Angular's template compiler does not recognize custom HTML elements by default
- Solution: Add
CUSTOM_ELEMENTS_SCHEMAto the module or component that uses<mingleego-webchat>. See Step 3 (Option A or C) for detailed instructions
Problem: The chatbot button is visible but cannot be clicked
- Cause: The chatbot widget (z-index: 1000) is being covered by other elements in your Angular app that have a higher z-index or stacking context
- Solution: Use Option B — place
<mingleego-webchat>inindex.htmloutside<app-root>. This removes it from Angular's stacking context entirely and makes it always accessible
Problem: The chatbot doesn't appear at all
- Check the browser console (F12 → Console tab) for error messages
- Make sure the script filename in
index.html(orangular.json) exactly matches the actual filename insrc/assets/— it's case-sensitive - If you used the
angular.jsonmethod, restart the dev server after making changes - Try a hard refresh: Ctrl+F5 on Windows, Cmd+Shift+R on Mac
Problem: The chatbot appears but doesn't work
- Check the browser console for JavaScript errors
- Make sure you're using the correct script file for your chatbot (each chatbot has its own unique script file)
- Verify your internet connection (the chatbot connects to Mingleego servers)
Problem: Angular
angular.jsonbuild error after adding the script- Check that the JSON syntax is valid (no trailing commas, proper quotes)
- Verify that the file path is correct and the file exists at that location
- Consider using the
index.htmlmethod instead, which is simpler
-
Build for Production (Optional):
1The chatbot script in
src/assets/is automatically included in the build output.
Summary
To integrate the Mingleego chatbot into your Angular project:
- ✅ Place the chatbot script in
src/assets/ - ✅ Add a
<script>tag insrc/index.html(or add toscriptsinangular.json) - ✅ Add
CUSTOM_ELEMENTS_SCHEMAto the module or component that uses the element - ✅ Add
<mingleego-webchat></mingleego-webchat>using the option that fits your needs:
| Option | When to use |
|---|---|
Option A — app.component.html | Chatbot on every page, simple setup |
Option B — index.html outside <app-root> | Chatbot on every page, avoids z-index issues |
| Option C — specific component HTML | Chatbot on specific pages only |
| Option D — TypeScript declarations | Silence TypeScript errors in .ts files |
Once these steps are complete, your chatbot should be live and ready to interact with your website visitors!